Video storytelling is without a doubt the most engaging and thrilling way to share the memories of your travels. Sharing those memories through a video, ultimately guides your viewers, such as family and friends, through relatable content that ignites emotional connections as if they’re living in the time of the vacation with you.
However, this doesn’t mean that making travel videos is always easy. Far from it, really. There are many characteristics that play into videography and storytelling, and it starts with how you film the content. It’s key that anyone obtains even a base-level understanding of how to take videos, and the best ways in which you should be filming your desired content.
That said, the following blog will provide you with tips and tricks to use when filming during your adventures!
1. Use all your cameras for well rounded videos
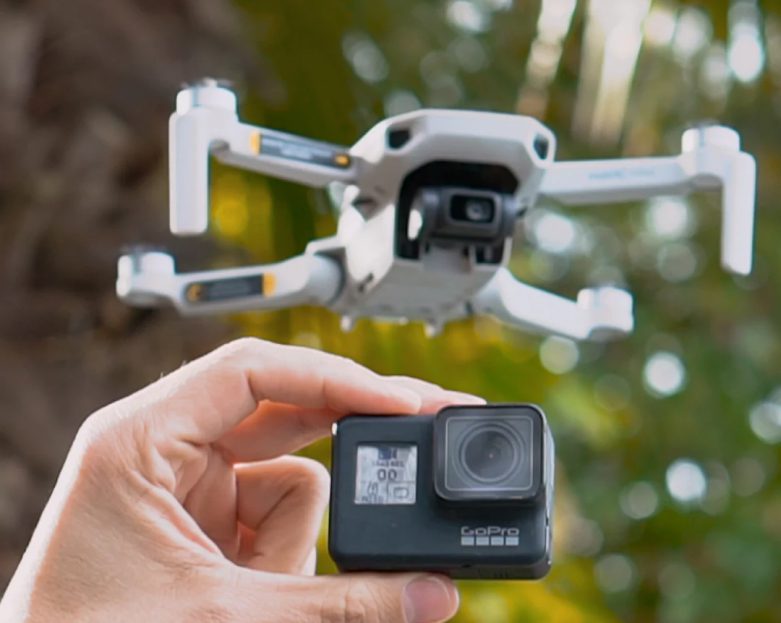
Drone and GoPro
Especially in today’s time, you don’t need to stick to just one camera anymore. Using multiple cameras makes your film appearance look more professional with higher quality production values. It gives your videos a different style of engagement while also providing an intriguing dynamic. Essentially, the more cameras you use, the better your videos will be.
To step up your travel videos, we recommend you use your GoPro, Smartphone, DSLR, Drone, Stabilizer, etc. The different perspectives and lenses will inevitably help to create a more exciting story.
Worried that you won’t be able to edit your videos if you use more than one type of camera?
Video Editing Service can edit any video from any camera!
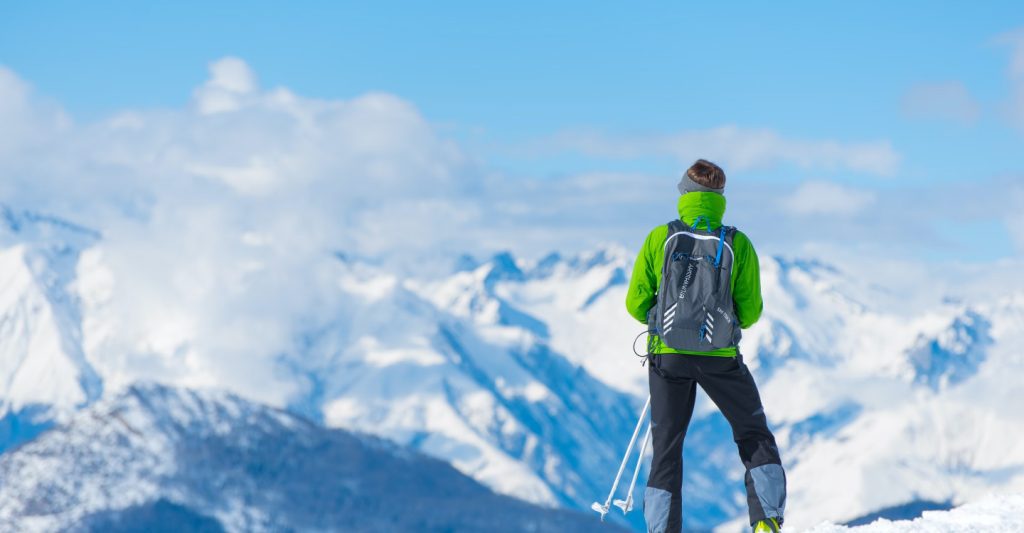
2. Film a variety of shots
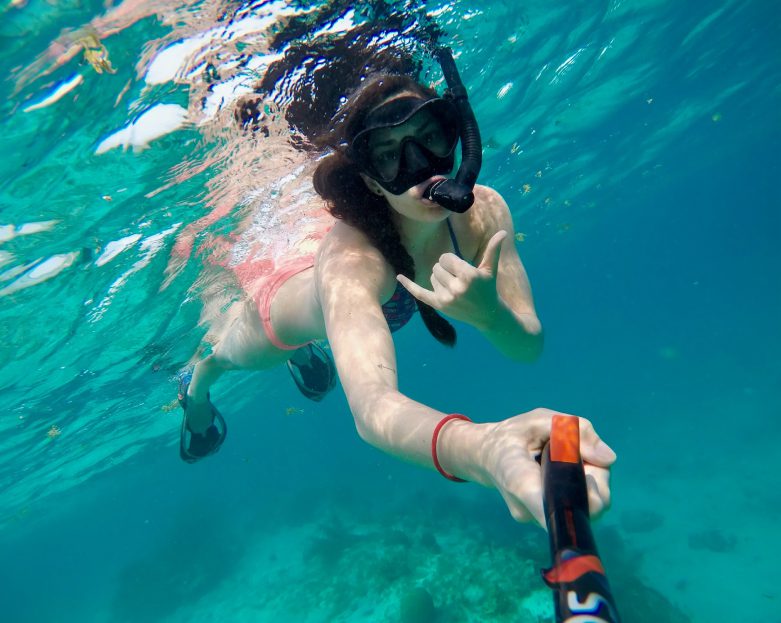
Variety Shot #1 - Woman snorkeling
Instead of only pulling out the camera when you get to the viewpoint or destination, film the little moments that lead up to it. A good story has build-up; a beginning, middle, and an end. A great video will have clips and shots for all three sections.
When you film a variety of shots, you’re more likely to tell the complete story. This will keep your video interesting and will offer you and your audience an array of perspectives.
An example of what to film for the beginning would be to film your plane ride, car rides, or even your feet as you walk to your destination. To change perspectives, hand your camera to a friend or family member and let them film the journey. Maybe you incorporate a vlog to switch up silent movements.
In the end, it’s the attention to detail and the change in perspectives that will enhance your travel video.
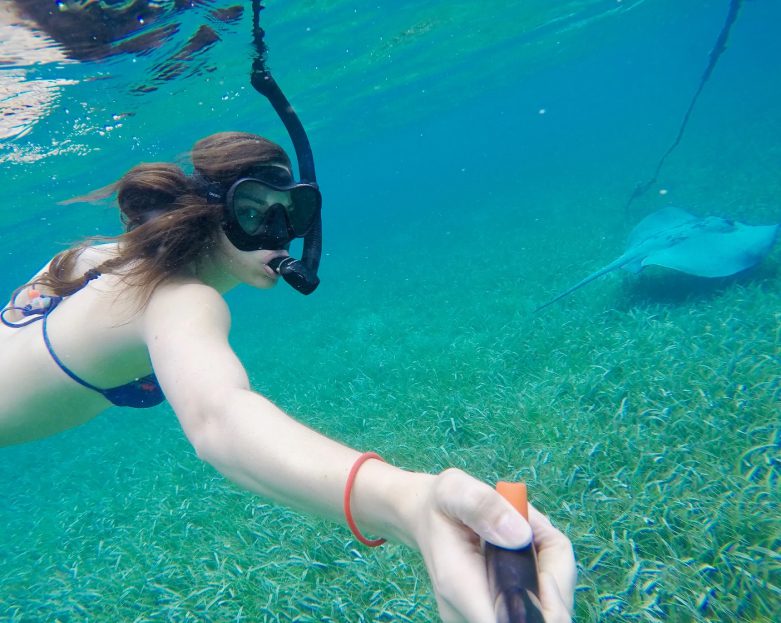
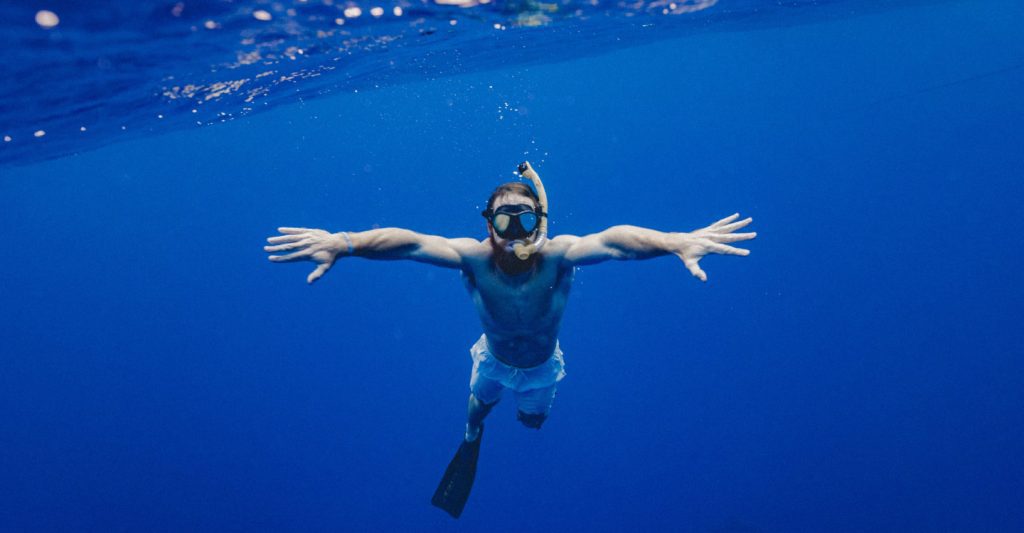
Variety Shot #2 - Woman scuba diving
3. Slow motion videos
Slow motion is a traditional effect used in videography. It not only shows the passage of time, but it also slows down the action to put emphasis on the moment clearer and sometimes more dramatic.
One could use slow motion in different situations. It’s perfect for scenes with many fast motion activities such as running, driving, cliff jumping, etc.
4 tips for better slow motion videos
-
Motion: choose a subject with considerable movement like a waterfall or any falling object. If you have a nice landscape but there is no motion, then create a high speed movement by doing something such as skipping rocks or jumping in the lake.
-
Lighting: As always, lighting is important when filming. For slow motion, the brighter the better. More light will result in a less blurry video and loss of quality. Keep an eye out for flashing lights when shooting indoors and try to use as much natural light as possible.
-
Steady: For best results, keep the camera as steady as possible. The most effective way to ensure this is by resting your camera on a steady surface or using a tripod.
-
Practice: Make sure to practice your shot a few times, especially if it involves panning the camera or if the moment is only going to happen once.
Though there is a slow-motion option in your smartphone’s camera application, some may prefer to use a DSLR. Let’s talk about the settings you would use when filming with a DSLR.
The golden rule is that you never want to end up with a video clip that has a frame rate lower than 30 fps (frames per second). Therefore, if you record at 60 fps, that means you can slow down your video by up to 50%.
50% * 60 fps = 30 fps
If you slow it down by more than 50%, you’ll get a video that appears laggy and choppy because the frames per second is 30 fps. For any given frame rate, you can figure out how much to slow it down by using this:
30 fps / YOUR FRAME RATE = SLOW DOWN SPEED
Ex. 30 fps / 240 fps = 12.5%
The only downside of recording with a higher frame rate is that 60 fps or 240 fps is a large file size. It takes up a lot of space on your memory card and it is harder to work with when editing.
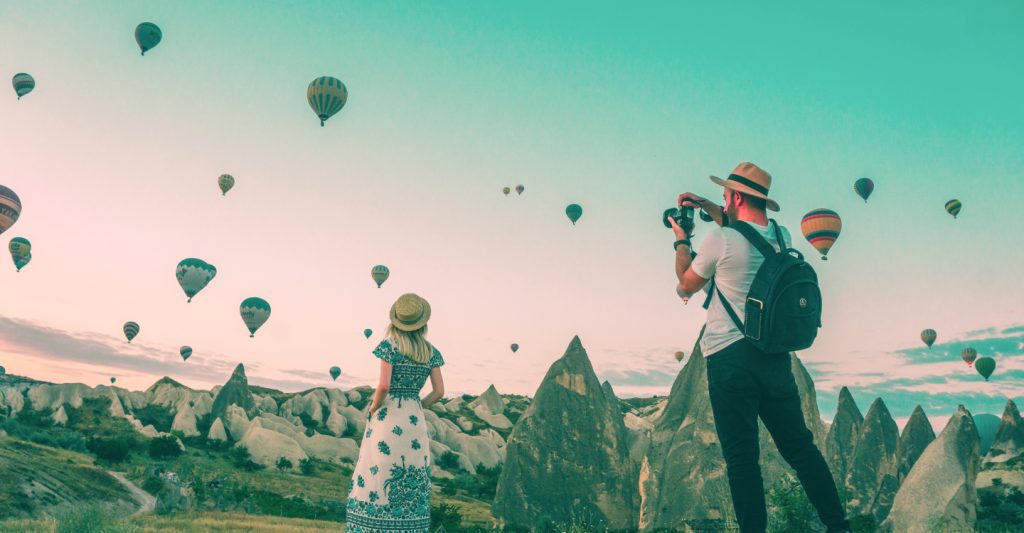
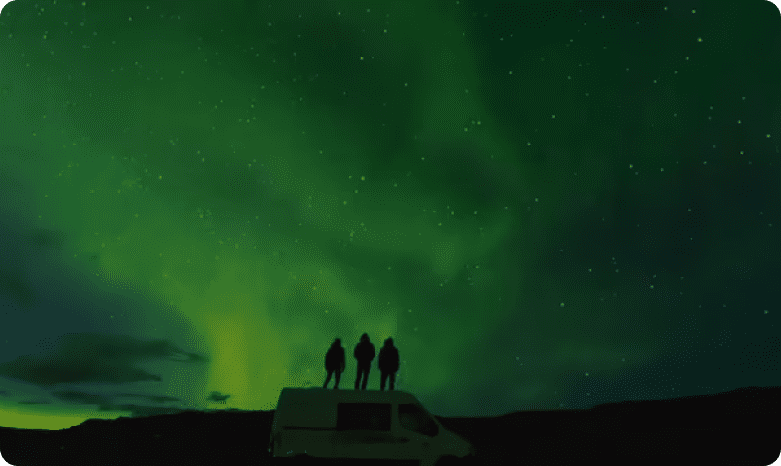
4. Shoot after the sun sets or before the sun rises
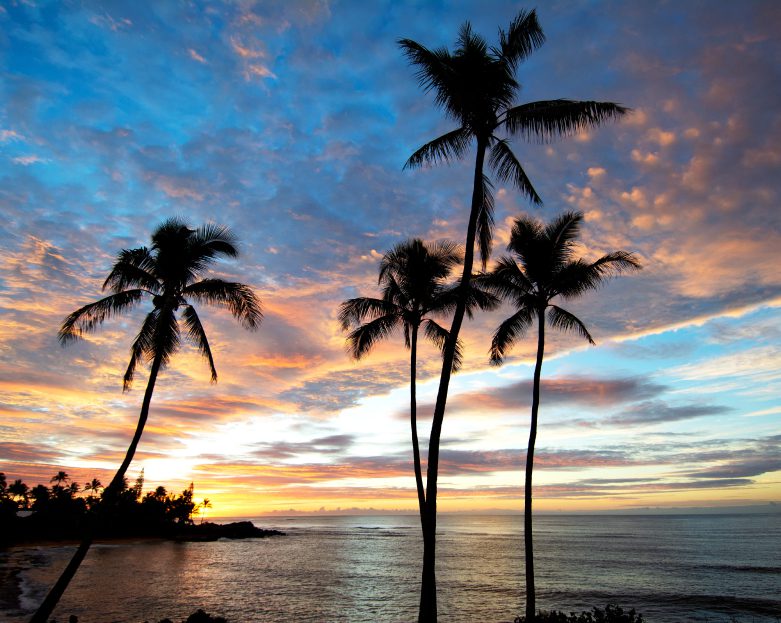
Sunset